Site Themes are of two types.
Site Themes List page:
The following image shows the Default type of the system.
Title : Name/title of your site theme.
Theme title key : You can give name of your site theme.
Is active : If yes, the site theme will be set as your default theme to your site.
Settings : You can manage the Theme colours.
 This image is shown for BSB type of the system.
Title : Name/title of your site theme.
Theme title key : You can give name of your site theme.
Is active : If yes, the site theme will be set as your default theme to your site.
Settings : You can manage the Theme colours.
User Profile Placement: The Admin profile will be shown on Topbar/Sidebar of which we have selected.
 We can manage the Theme colours for both Default and BSB Themes by clicking on Settings –> Site Themes page.
The Admin can have access to manage all the Users themes.

 Name : Name of your files/database.
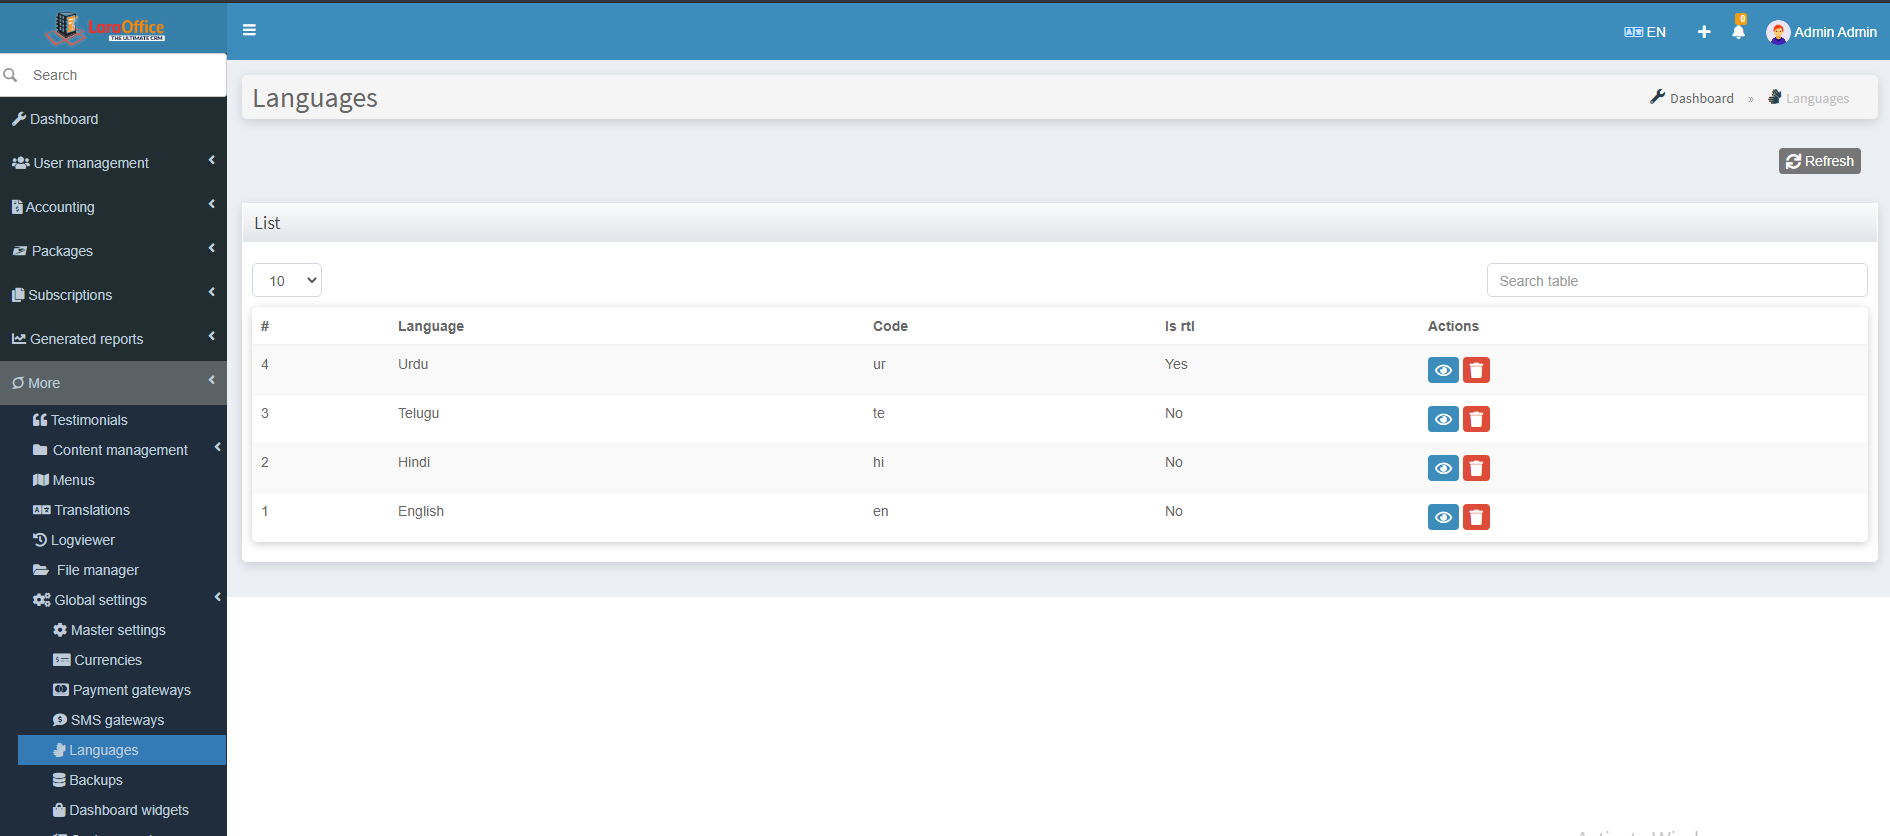 Create a New Language in this page where the fields to be filled are:
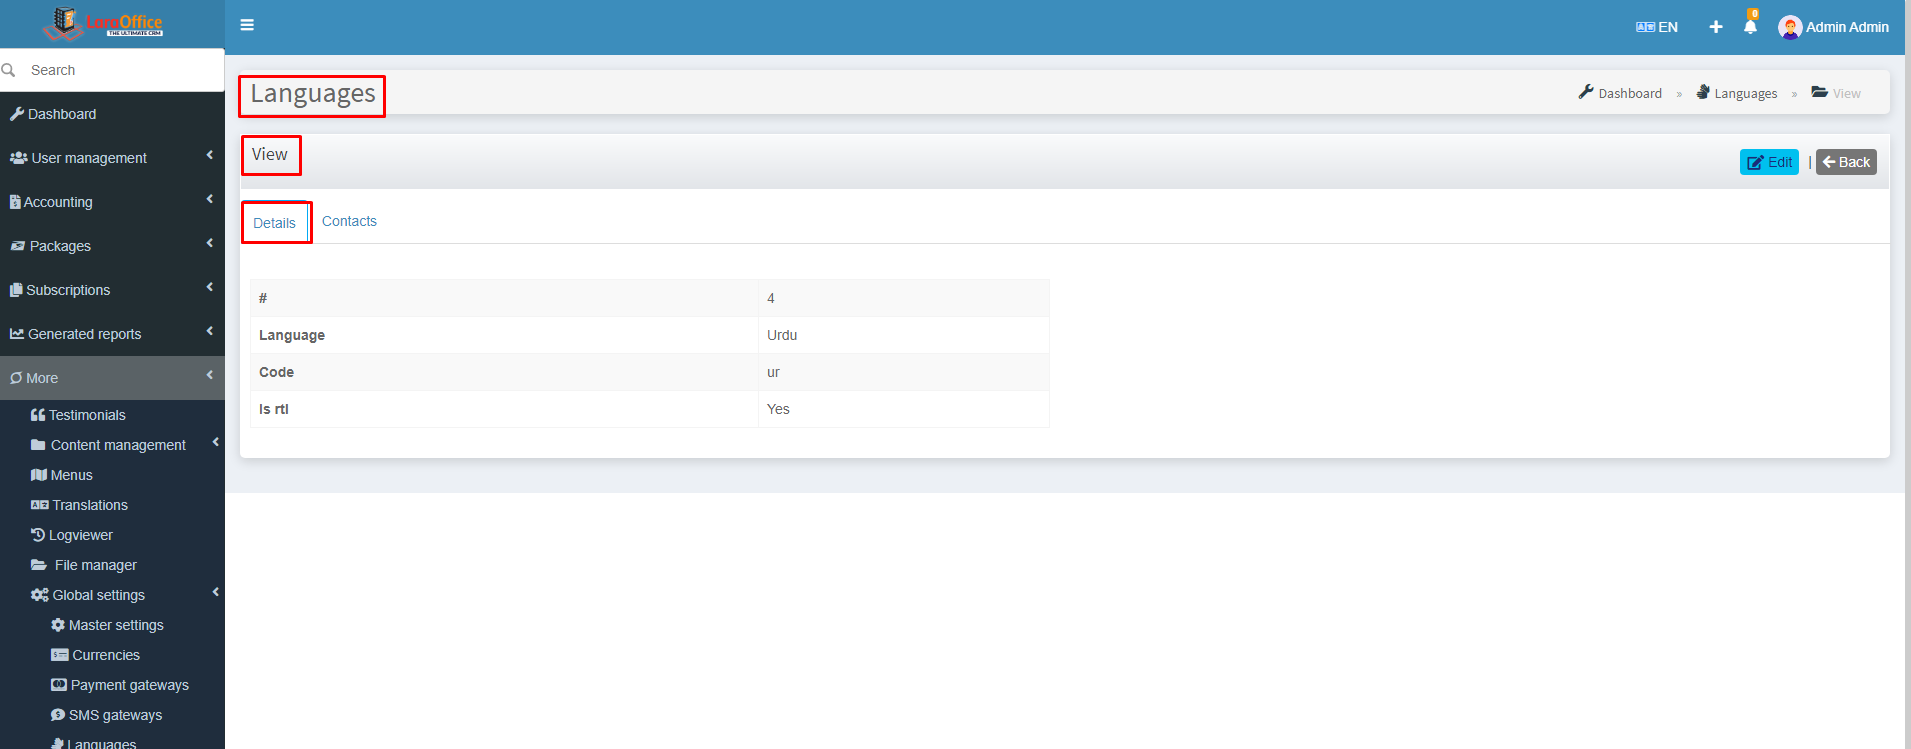 On clicking view, we can monitor the respective Language detailed history on module
 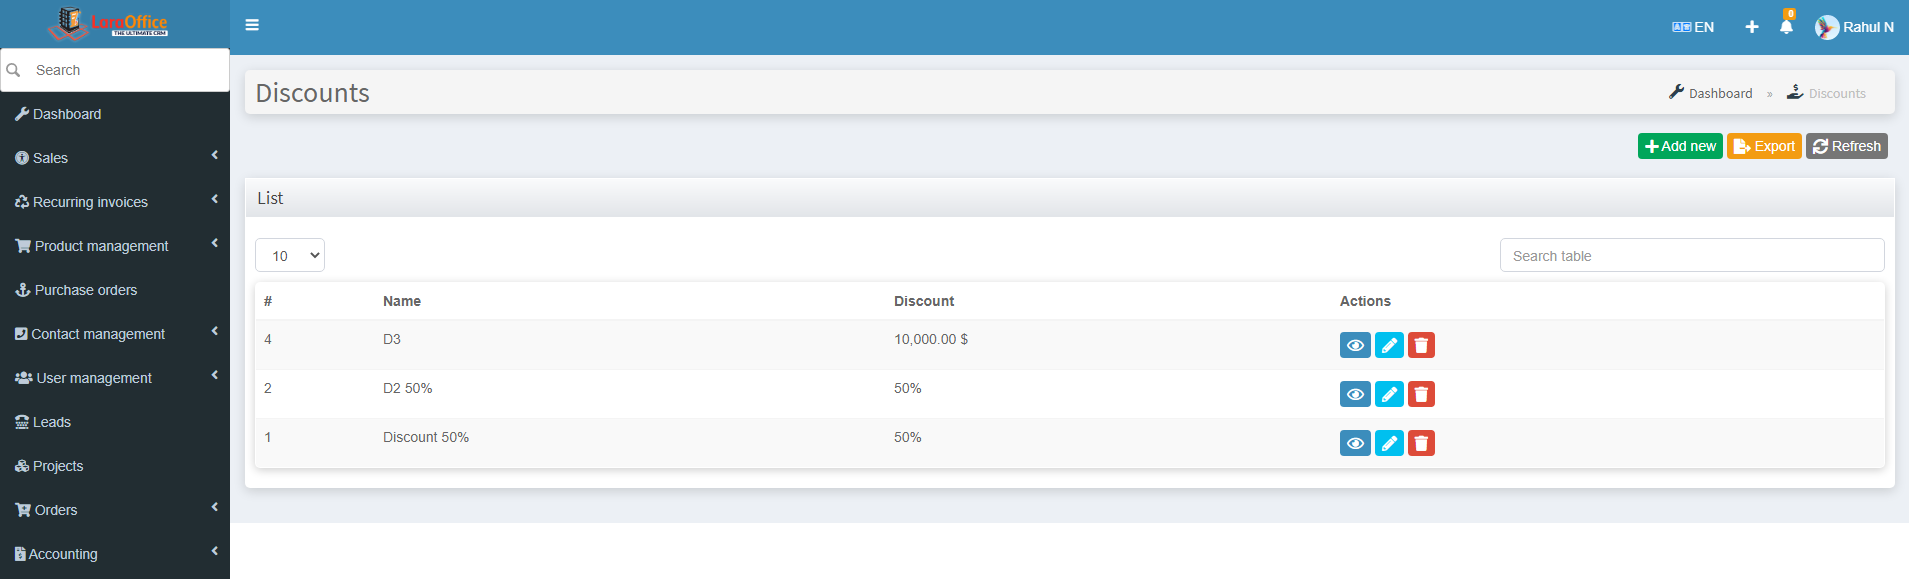 Create a New Discount on this page where the fields to be filled are:
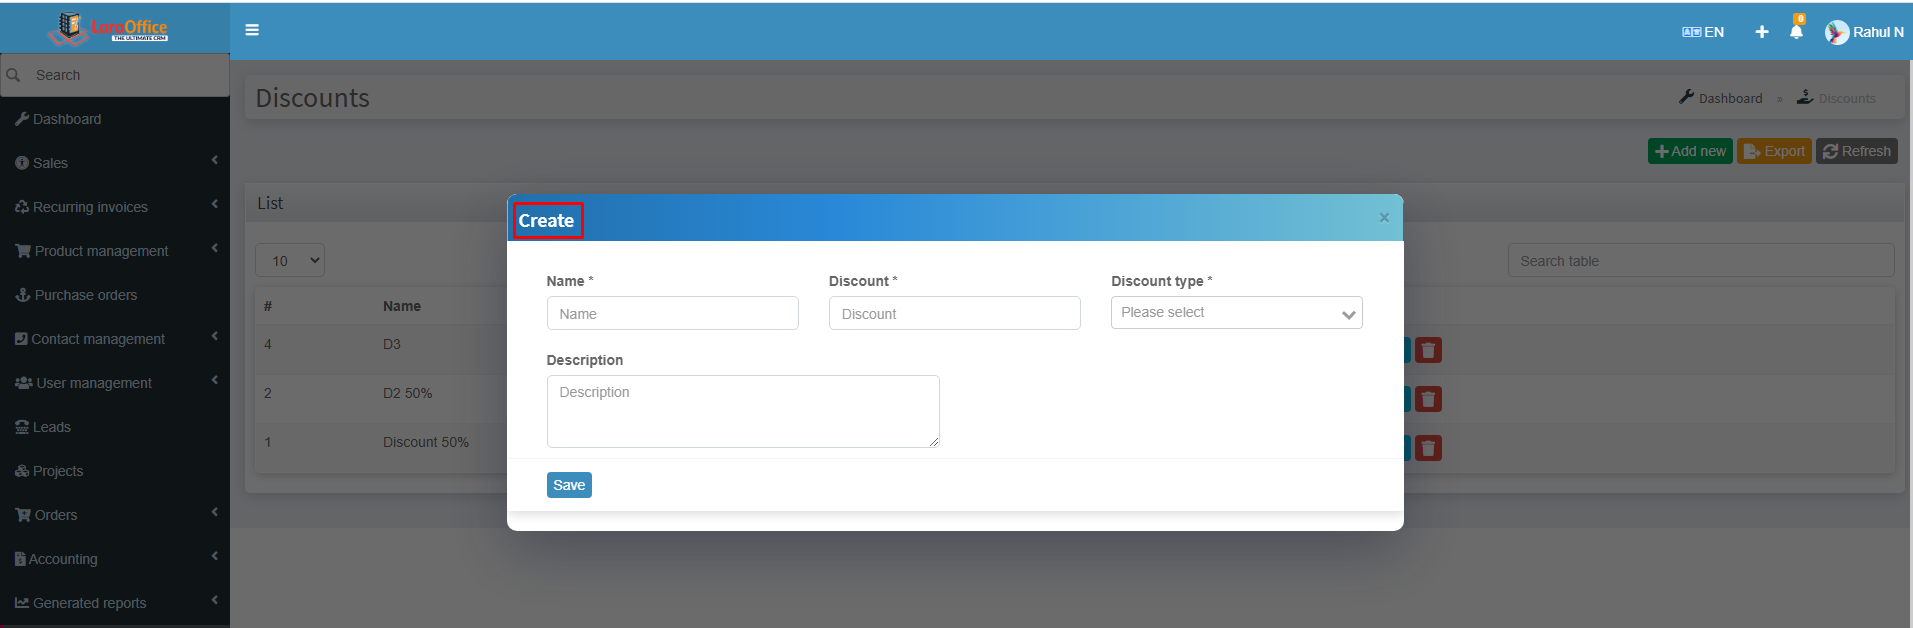 View button allows seeing all the Discount details.
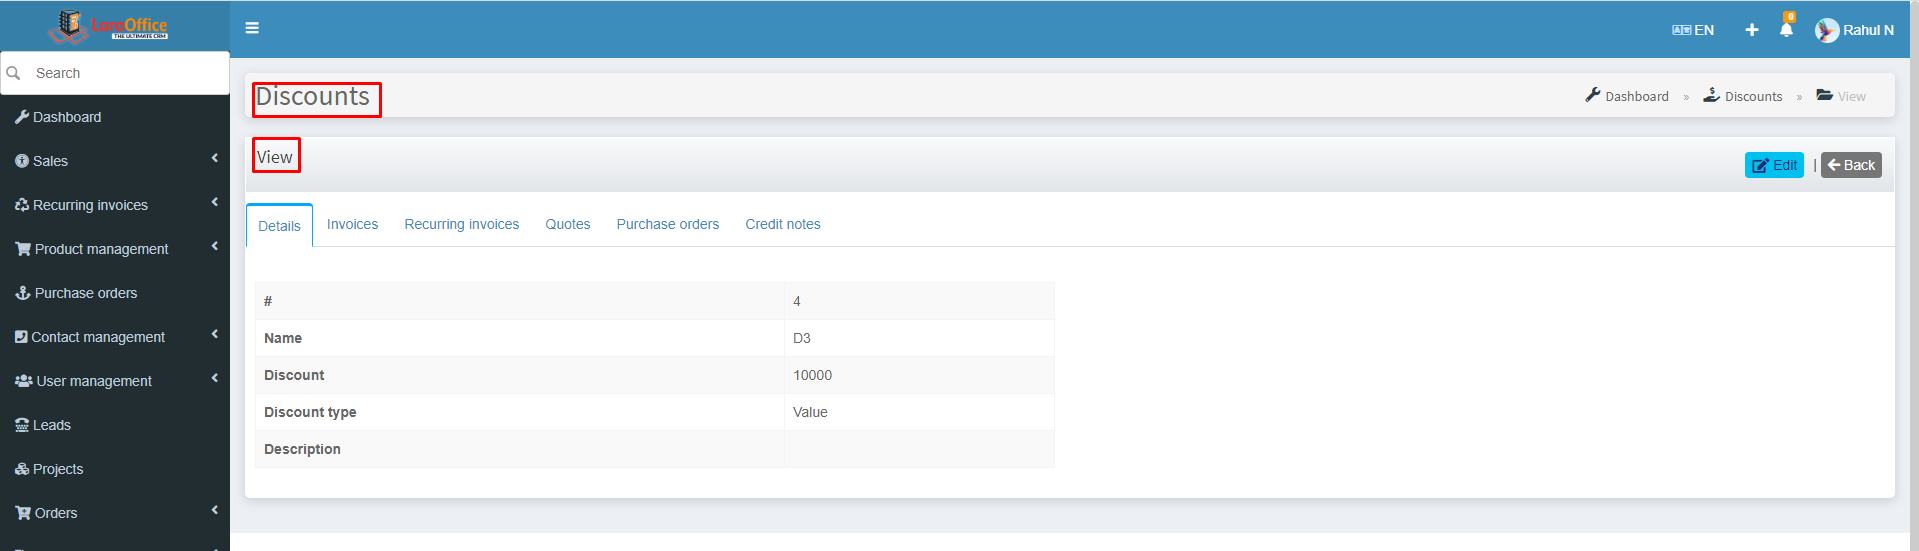 By clicking on view, we can monitor the respective Discount detailed history on various modules like Invoices, Quotes, Recurring Invoices, and Purchase Orders.