- To add new EXPENSE CATEGORIES go to accountant–>expense categories and click on add new button.
- we can edit & view and delete option also .
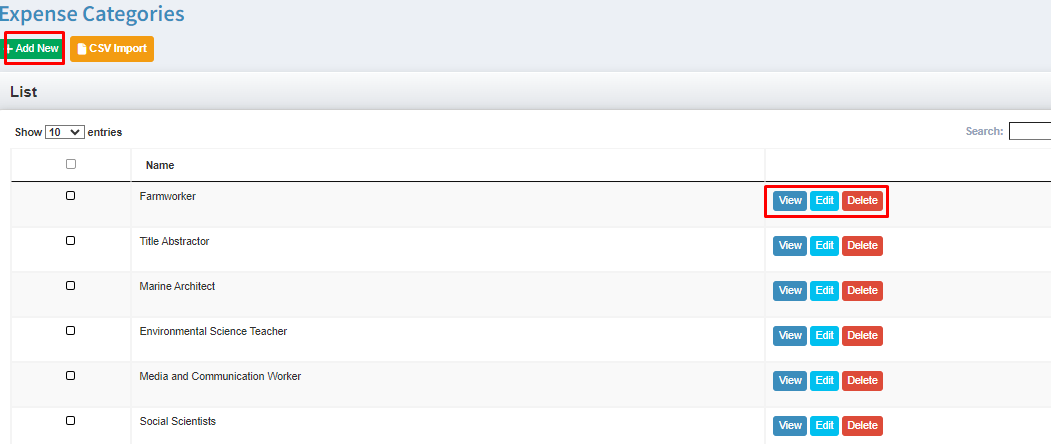
Expense Categories
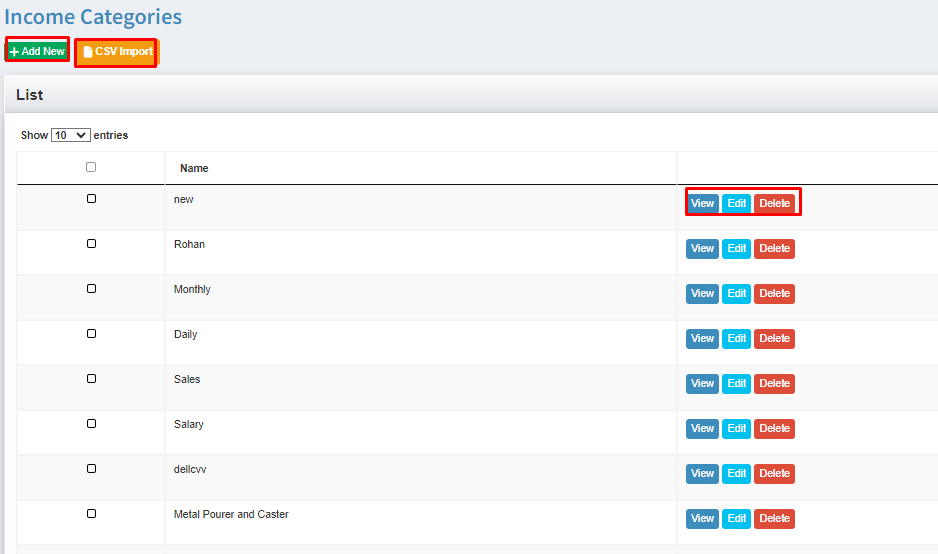
Income Categories
- To add new INCOME CATEGORIES go to accountant–>income category and click on add new button.
- To import NO.OF income categories–> using CSV import option.
- we can view & edit and delete option also.
Accounts & Transfers
Accounts Overview:
The Bank account is a financial account maintained by a bank for a customer.
Name: Account name.
Initial Balance: Account balance.
Account Number: Bank account number.
Contact Person: Account Holder.
Phone: Contact number.
Creation/List page are similar, excluding URL and description fields.
URL: Bank’s URL to redirect to it.
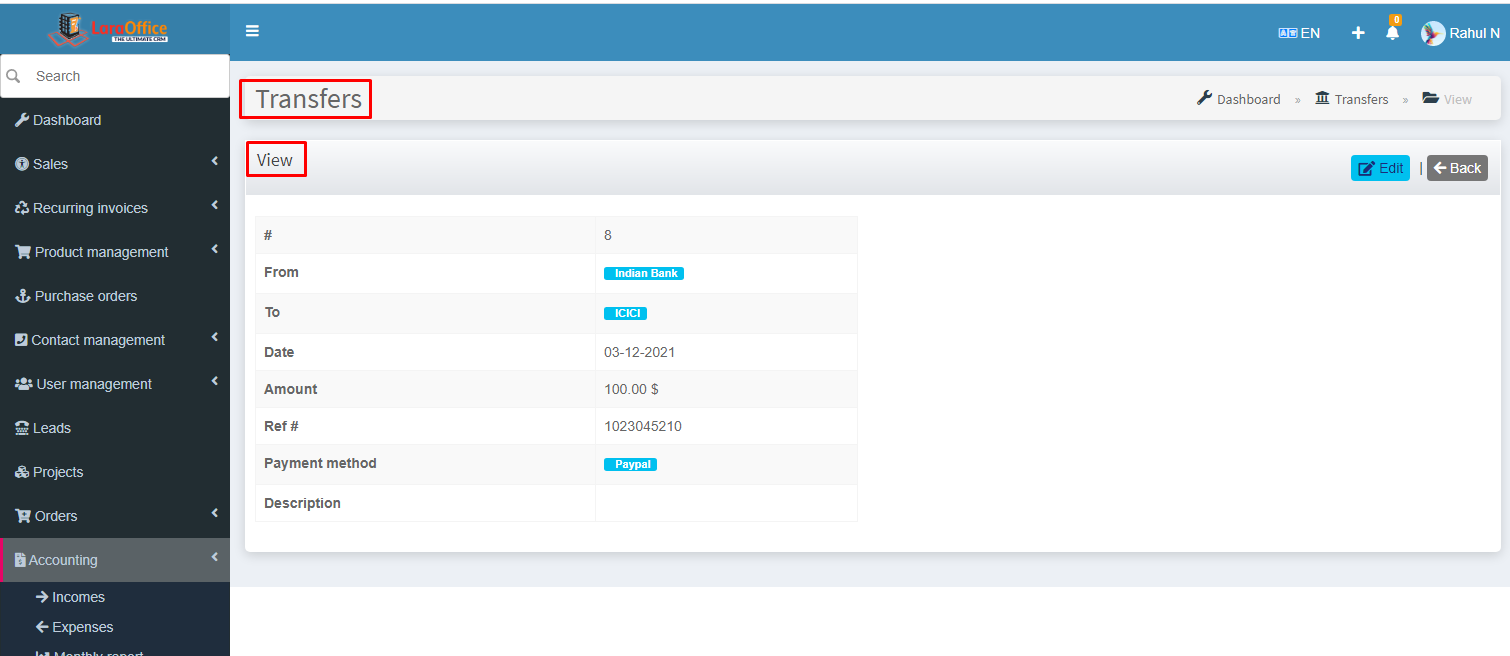
Transfers Overview:
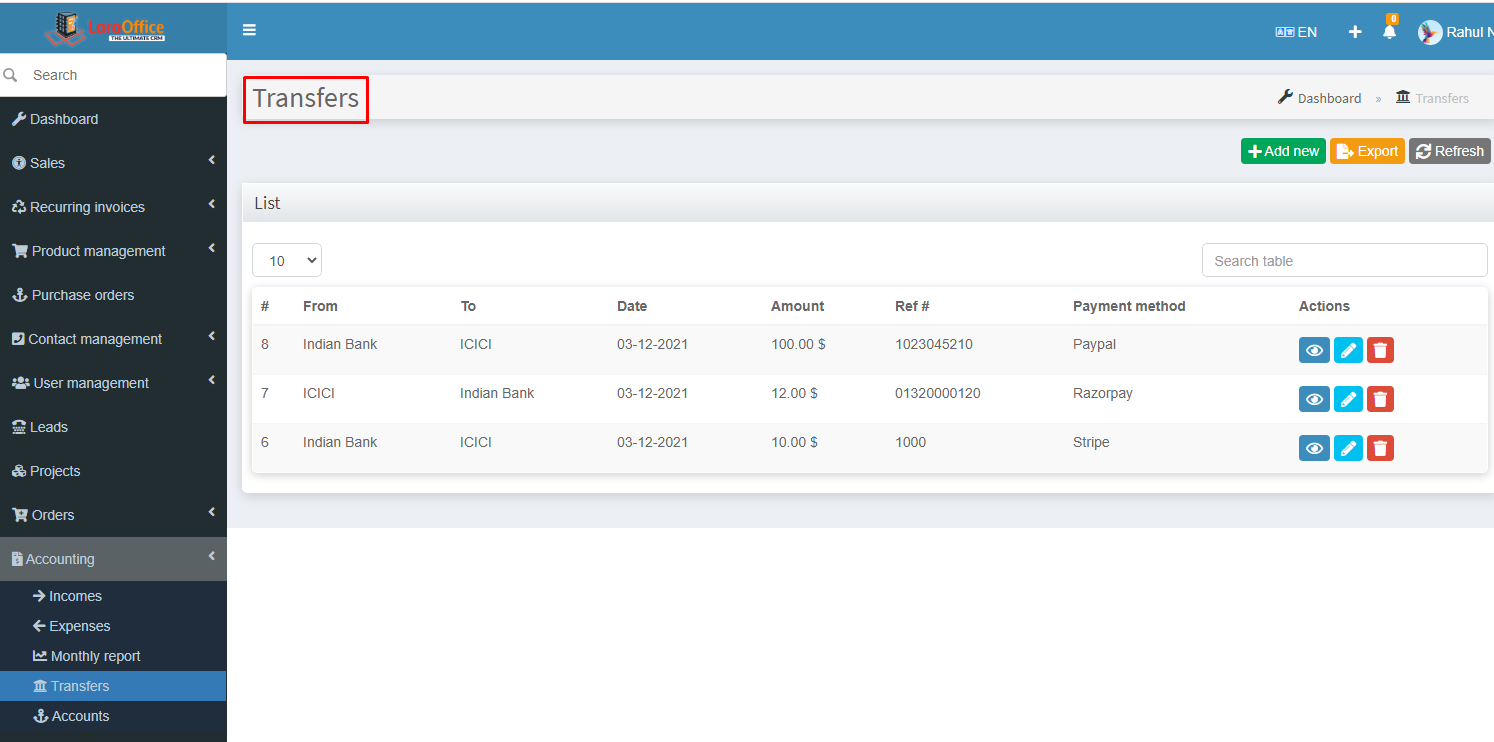 Transferring money from one bank to another bank.
Transactions of the amounts shown on the Transfer list page.
Expenses
Expense is an outflow of money to another person or group to pay for an item or service, or for a category of costs.
Expense Categories:
The categories which are related to Expense to which contact it is transacting from at which category. We can create various categories for Expense. These will be reflected at payment page.
Expense List:
The Expense list page is shown as,
Name: Expense name.
Account: Expense is added to in which account.
Expense Category: Expense’s category.
Entry Date: Expense date.
Amount: Expense amount.
Payee: For whom to make the payment.
Payment Method: Payment done through which gateway.
By clicking on View, we can monitor the selected Expense details.

Create Expense:
We can create the Expense by here itself also, we have the option to make the recurring expense.
In the Expense Creation page as like as shown in the Expense list page, but some fields are included in the creation page.
Here we go for remaining fields in Creation page.
Billable: Select Yes/No to make the expense which it is billing or not.
Currency: Expense currency. If you select the Payee, then payee’s default currency is auto-generated, the selected payee’s currency will be used. Otherwise, we can change the currency as we need.
Project: Project title/name.
Recurring Period — It shows that selection of duration like Days/Weeks/Months to recur the expense.
Recurring Value — Value of Recurring period.
Example: Consider recurring period is weekly, then the value is taken 2, it shows the total recurring period is 2 weeks.
Recurring Type — It is based on Recurring Period. It is selected automatically by selecting Recurring Period.
Total Cycles — How many times the expense will be recurred to the particular payee from giving on respective dates.
Description: Summary of the expense.
Reference: Reference number of expense.
Description File: Document, PDF etc. about on expense.

The ‘+‘ icon symbol beside some fields allows you to directly add the particular’s through a Pop-up menu to their respective modules.to add directly from here to those respective modules.
Click on Save, Expense is created.
This also be placed on Projects module at Sales field–>Invoice expenses.
Incomes
Income is the consumption and savings opportunity gained by an entity within a specified time frame, which is generally expressed in monetary terms.
Here, Income is adding from various modules in the system like Invoices, Orders, Recurring Invoices, Quotes ( after converting to Invoice), Proposal ( after converting to Invoice).
Income Categories:
The categories which are related to Income shows from which module it is coming and from which category it takes place. We can create various categories for Income. These will be reflected at the payment page.
Income List:
The Income list page shows as,
Account: Income is added to in which account.
Income Category: Income takes place from which category.
Entry Date: Income date.
Amount: Income amount.
Payer: Who made the payment.
Payment Method: Payment done through which gateway.
 By clicking on View, we can monitor the selected Income details.
Create Income:
We can create the Income on here itself also by clicking on Add new button.