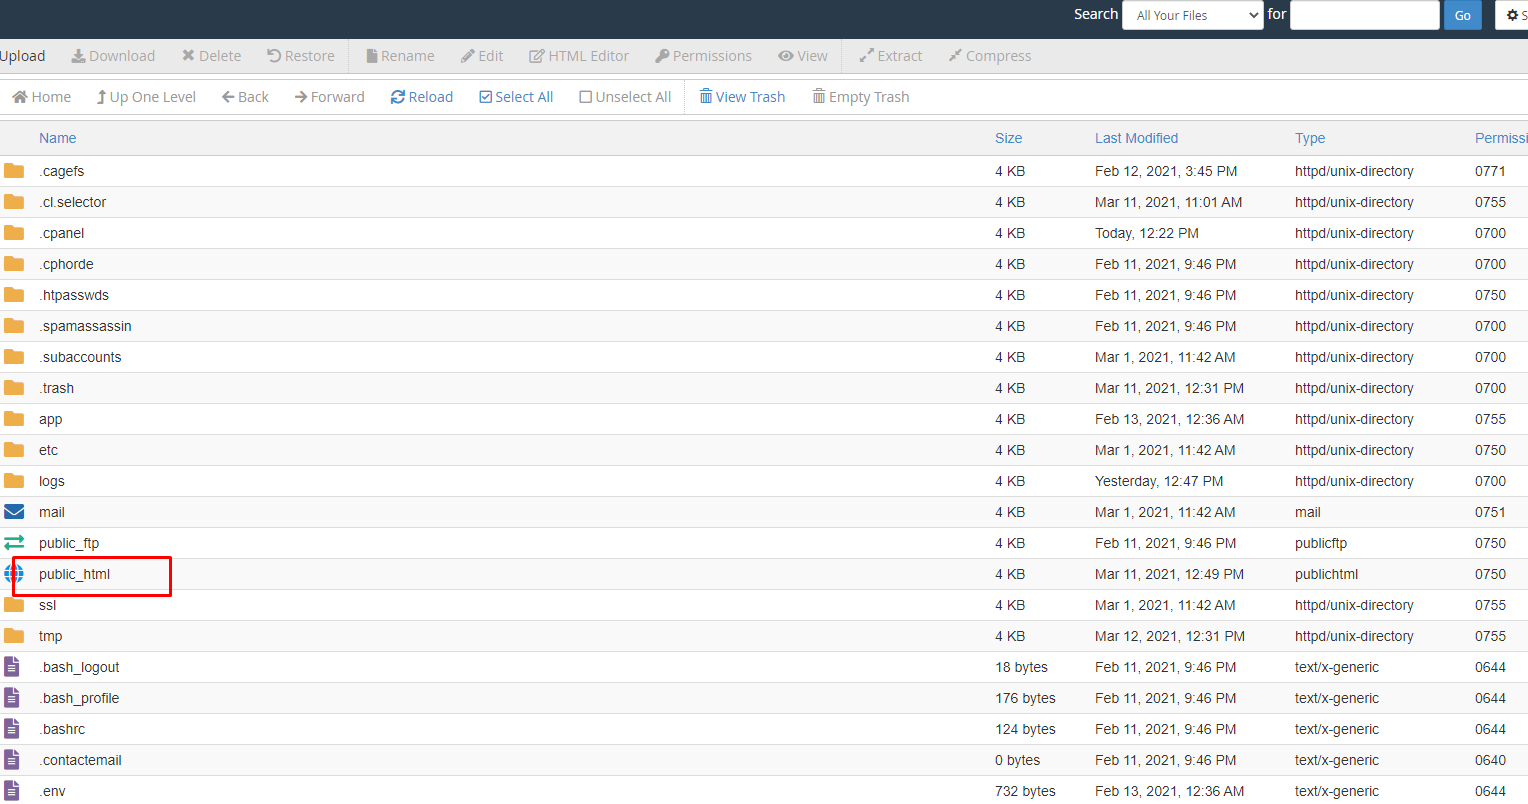
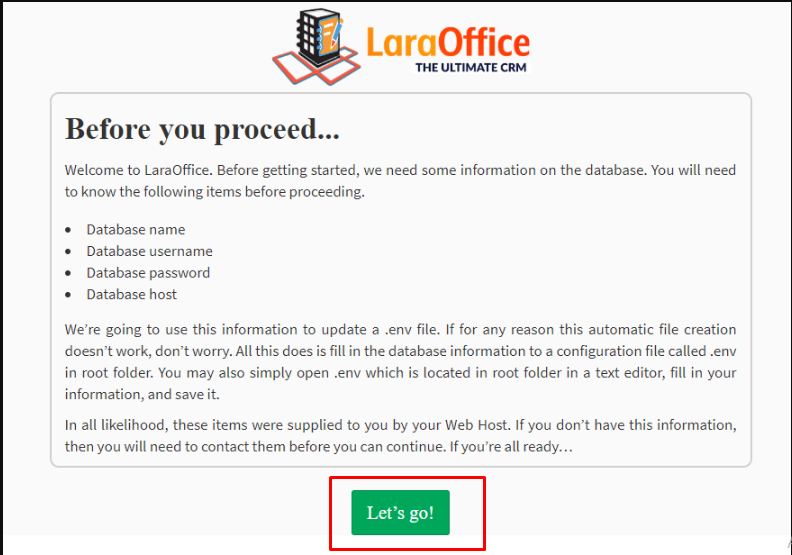
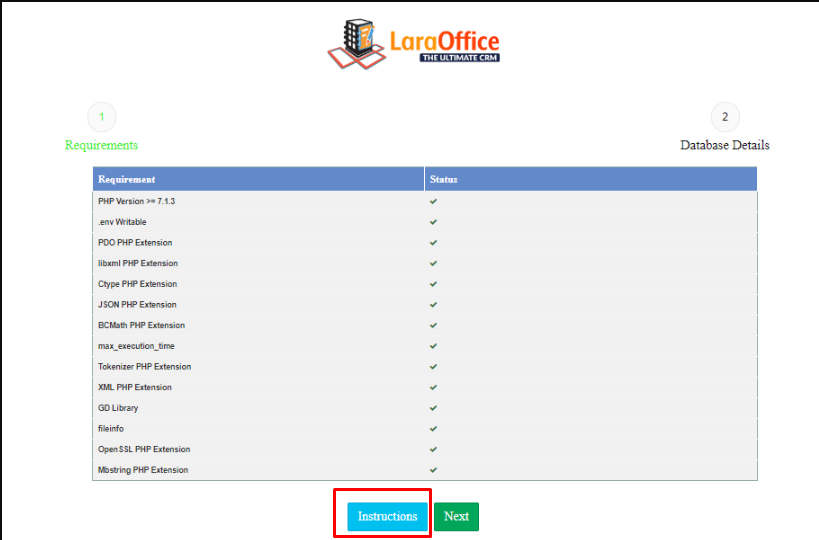
Note: We assume that files moved to the desired location and you already created a database and have a Database username and password at your hand. We are showing this using phpMyAdmin on localhost, but you can do this on the server also, but screens may change as per your server
- Open the ‘.env‘ file which is located in your folder downloaded from Envato with your favorite editor.
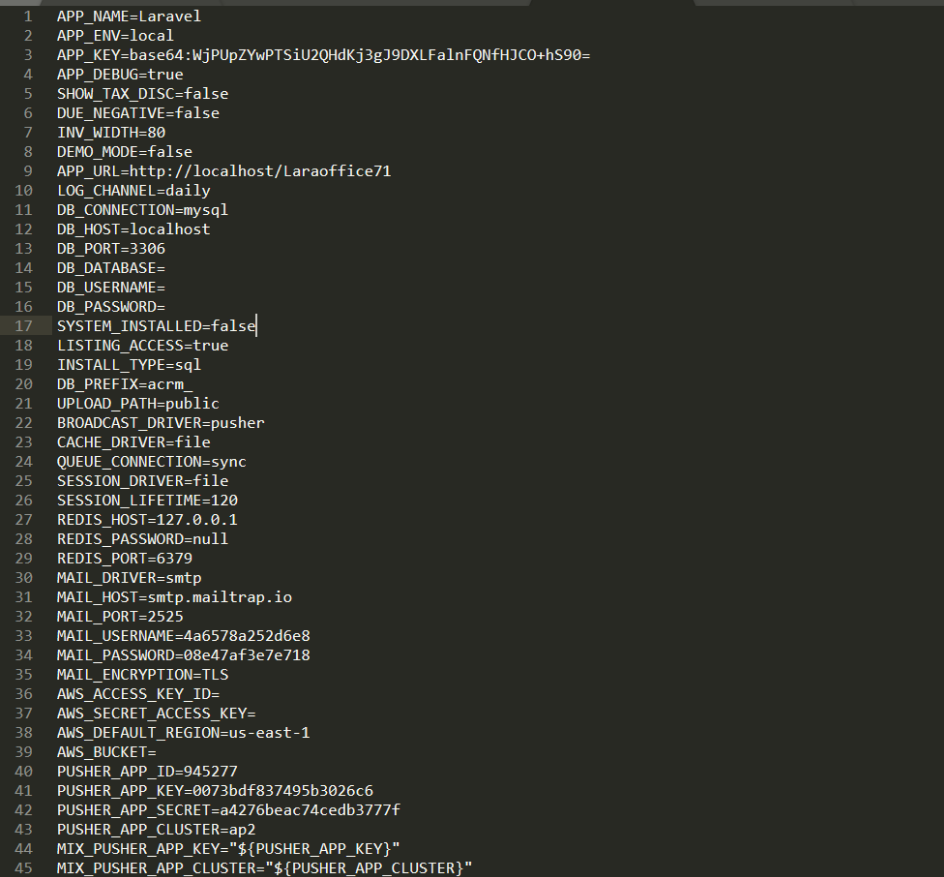 As you can see, quite a lot of those values are empty. And, to be honest, by default you will actually need to change only a few of them – related to database connection:
APP_URL=
– Your URL, If you uploaded the files to “crm” folder, “APP_URL” will be http://yourdomain.com/crm Keep in mind that you need to adjust the URL based on where you uploaded the files. If you are installing on a subdomain named “crm” your “APP_URL” will be http://crm.yourdomain.com
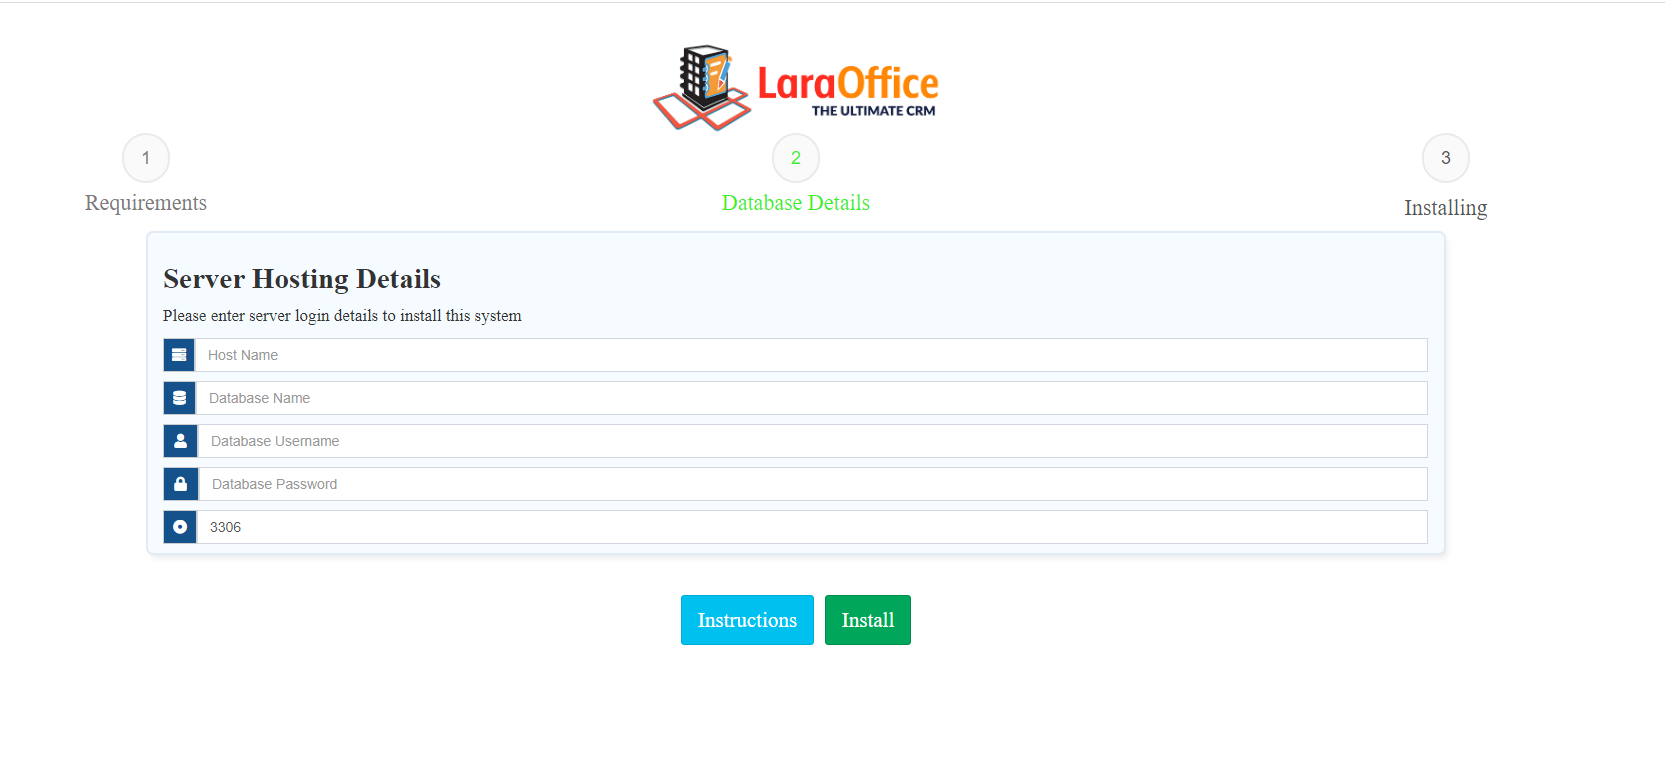
DB_HOST=
– Usually, the hostname is localhost but you should check with your hosting provider
DB_PORT
– Usually, a port is 3306 but you should check with your hosting provider
DB_DATABASE=
DB_USERNAME=
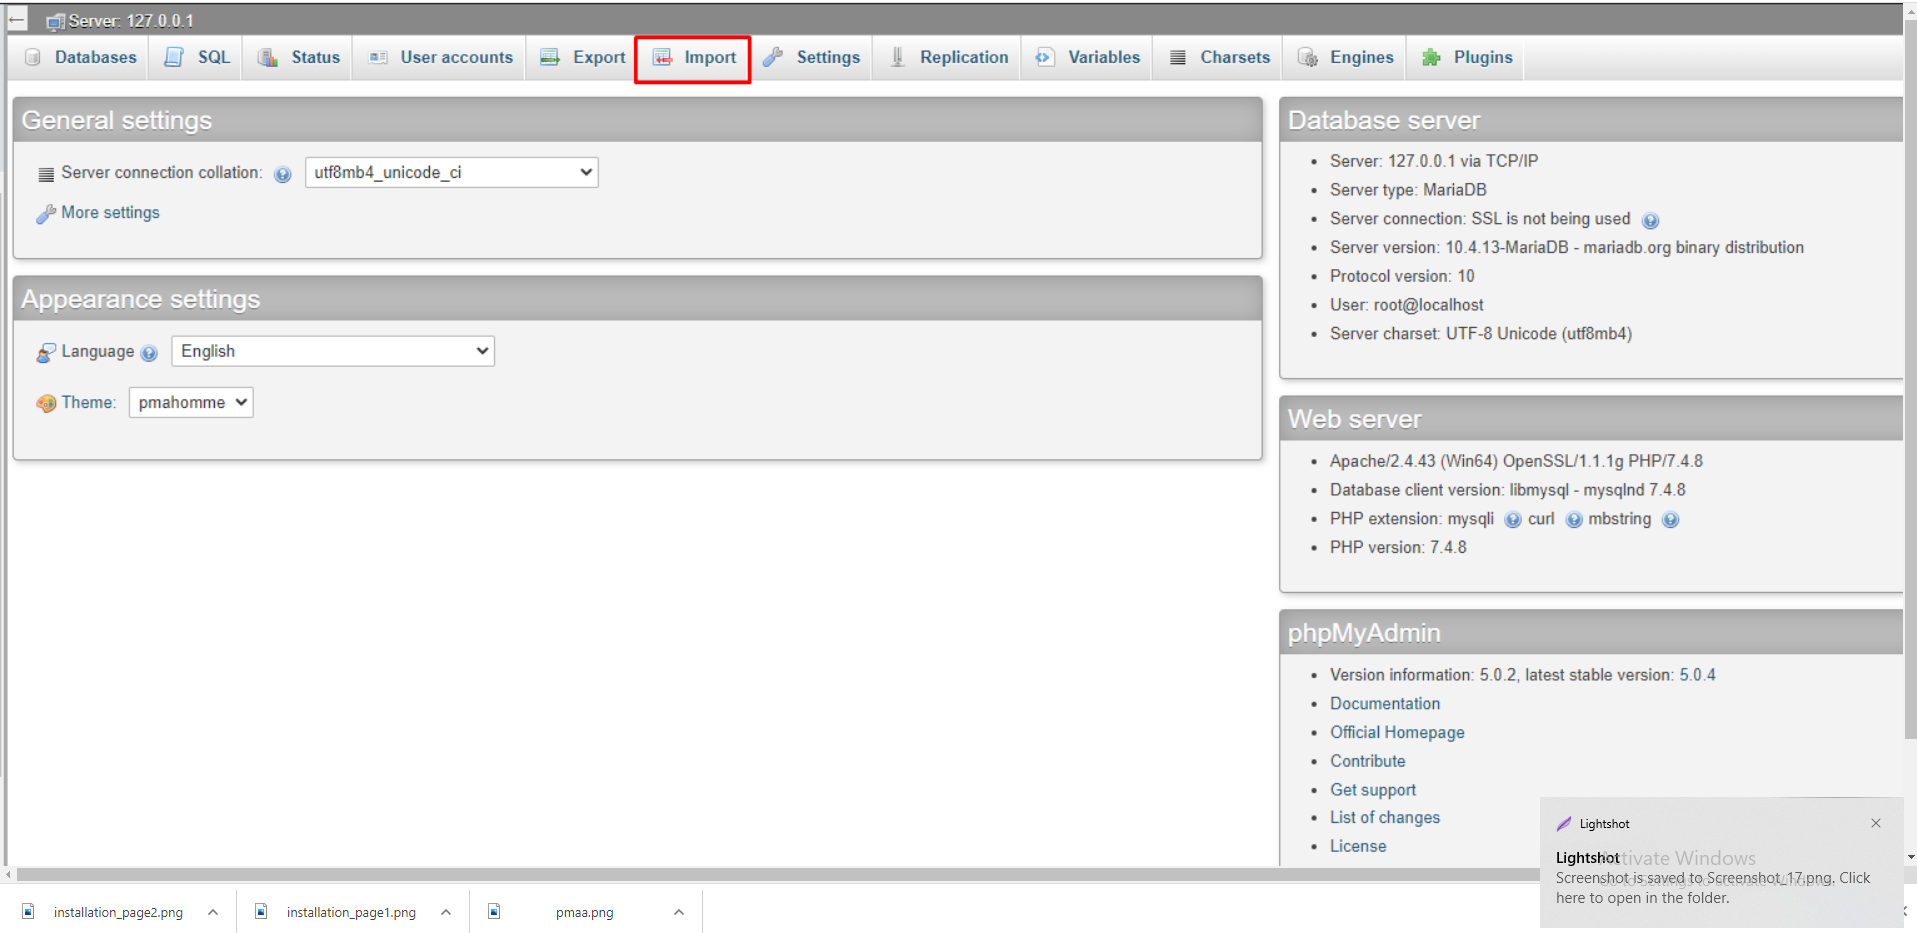
DB_PASSWORD= - Navigate to http://localhost/phpmyadmin. Click on the ‘Import‘ button. It will display a screen to upload the file.
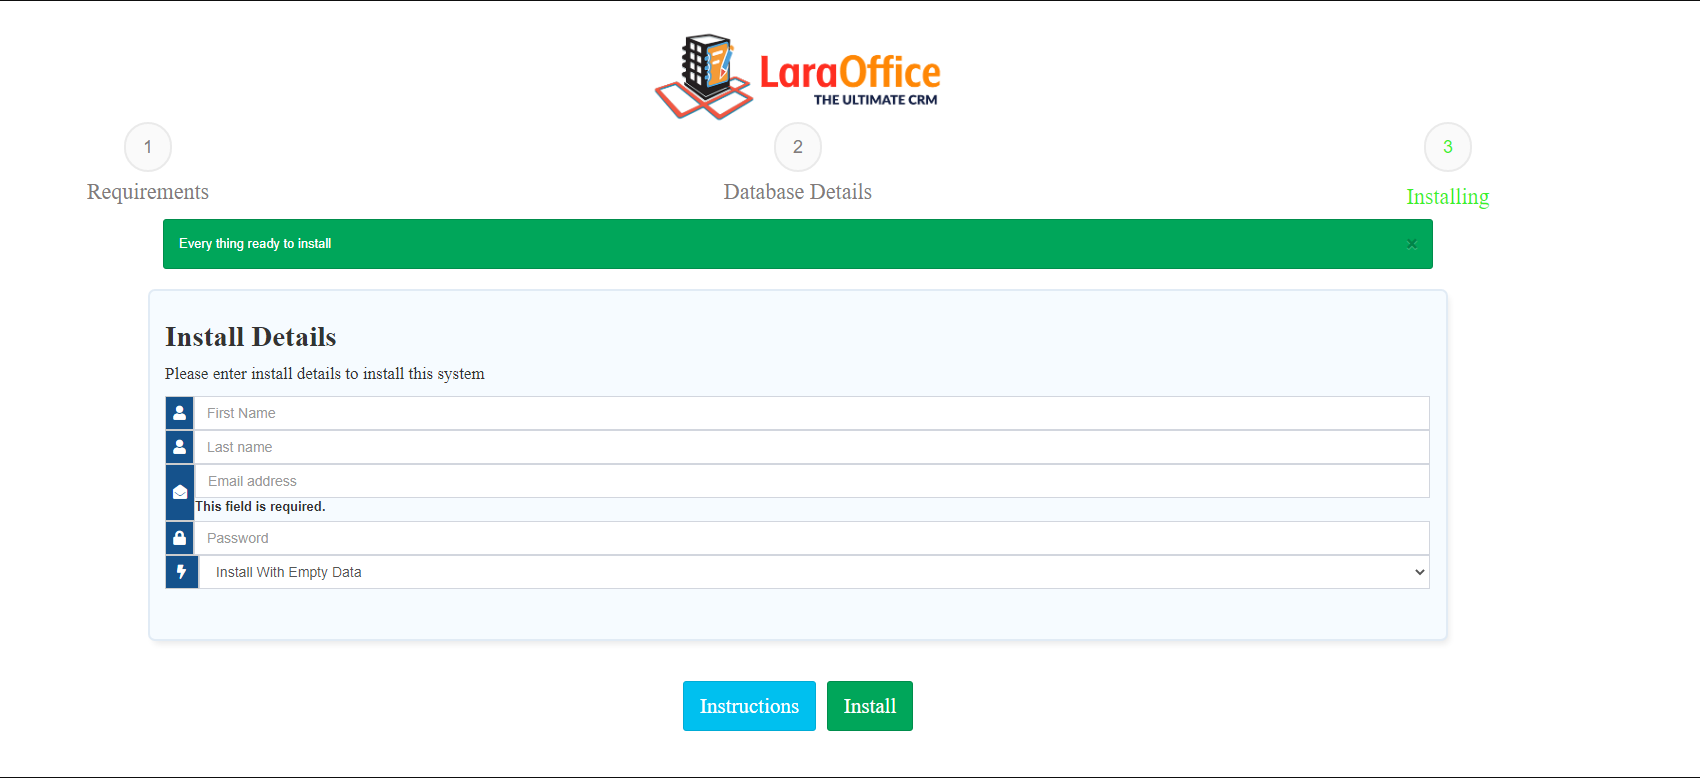
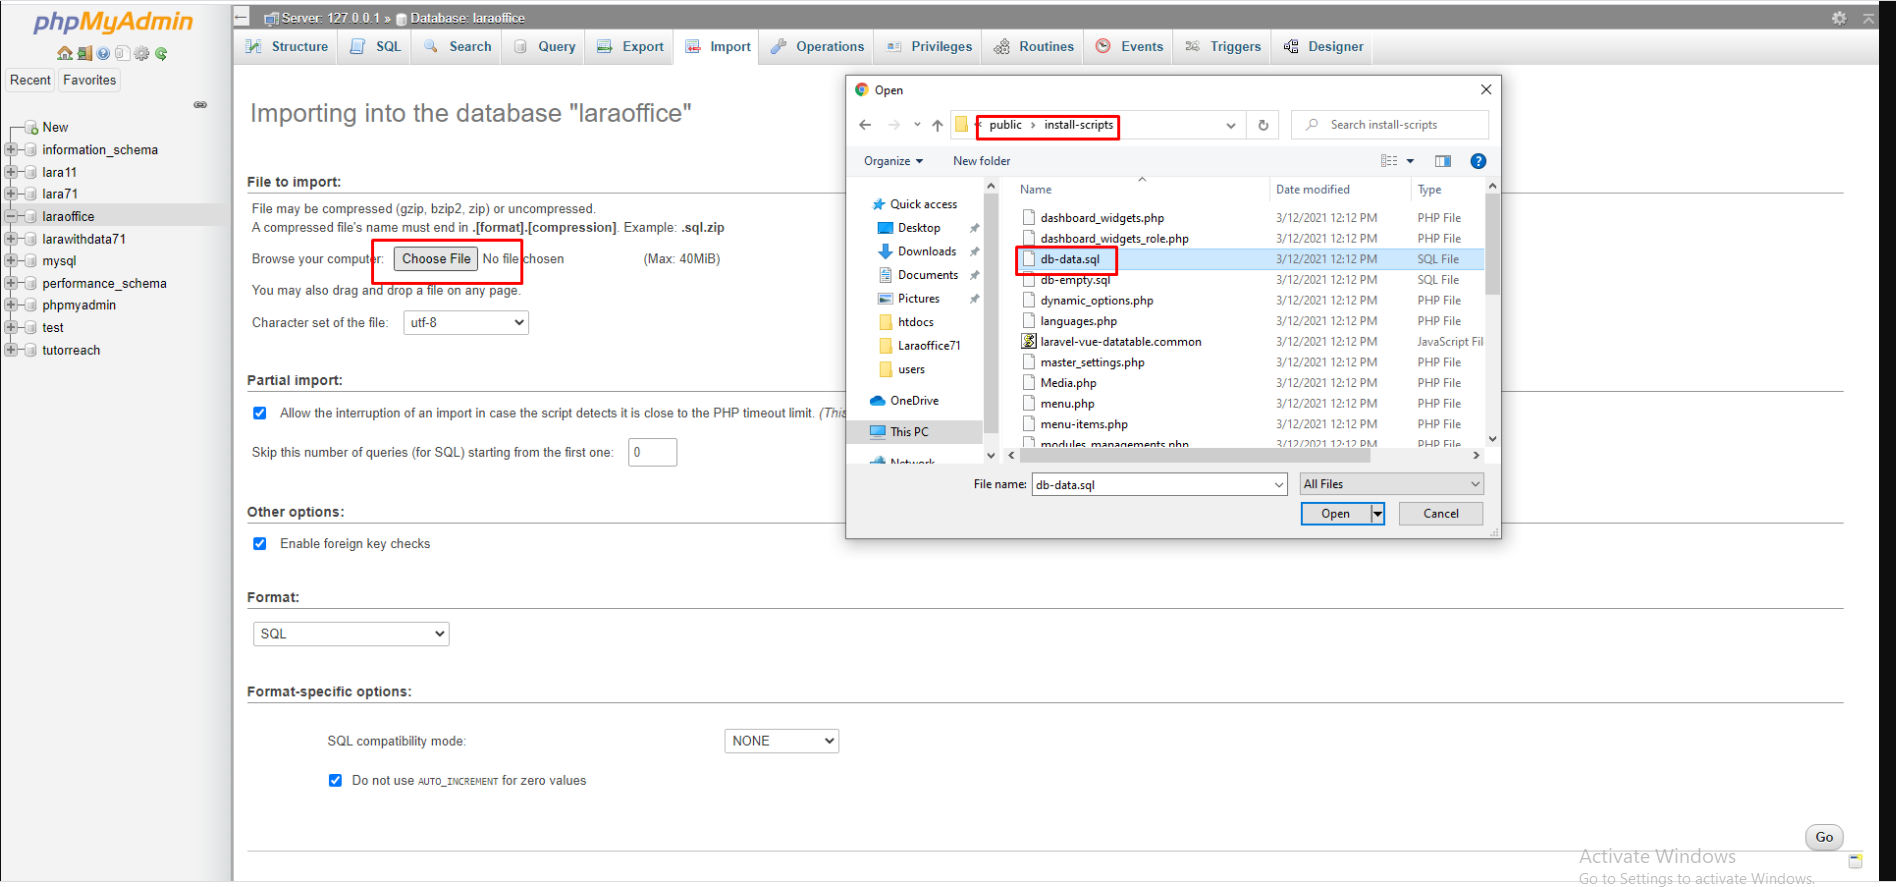 Select the file as per your requirements.
If you want to install the clean system, select ‘public/install-scripts/install-nodata.sql’
If you want to install a system with demo data, select ‘public/install-scripts/install-withdata.sql’ - You are done. Assume that you uploaded the files to “crm” folder, navigate to Eq. http://yourdomain.com/crm Keep in mind that you need to adjust the URL based on where you uploaded the files. If you are installing on a subdomain named “crm” you need to access the URL like http://crm.yourdomain.com.