General Information

Manual Installation

Note: We assume that files moved to the desired location and you already created a database and have a Database username and password at your hand. We are showing this using phpMyAdmin on localhost, but you can do this on the server also, but screens may change as per your server

  1. Open the ‘.env‘ file which is located in your folder downloaded from Envato with your favorite editor.As you can see, quite a lot of those values are empty. And, to be honest, by default you will actually need to change only a few of them – related to database connection:

    APP_URL=
    – Your URL, If you uploaded the files to “crm” folder, “APP_URL” will be http://yourdomain.com/crm Keep in mind that you need to adjust the URL based on where you uploaded the files. If you are installing on a subdomain named “crm” your “APP_URL” will be http://crm.yourdomain.com
    DB_HOST=
    – Usually, the hostname is localhost but you should check with your hosting provider
    DB_PORT
    – Usually, a port is 3306 but you should check with your hosting provider
    DB_DATABASE=
    DB_USERNAME=
    DB_PASSWORD=

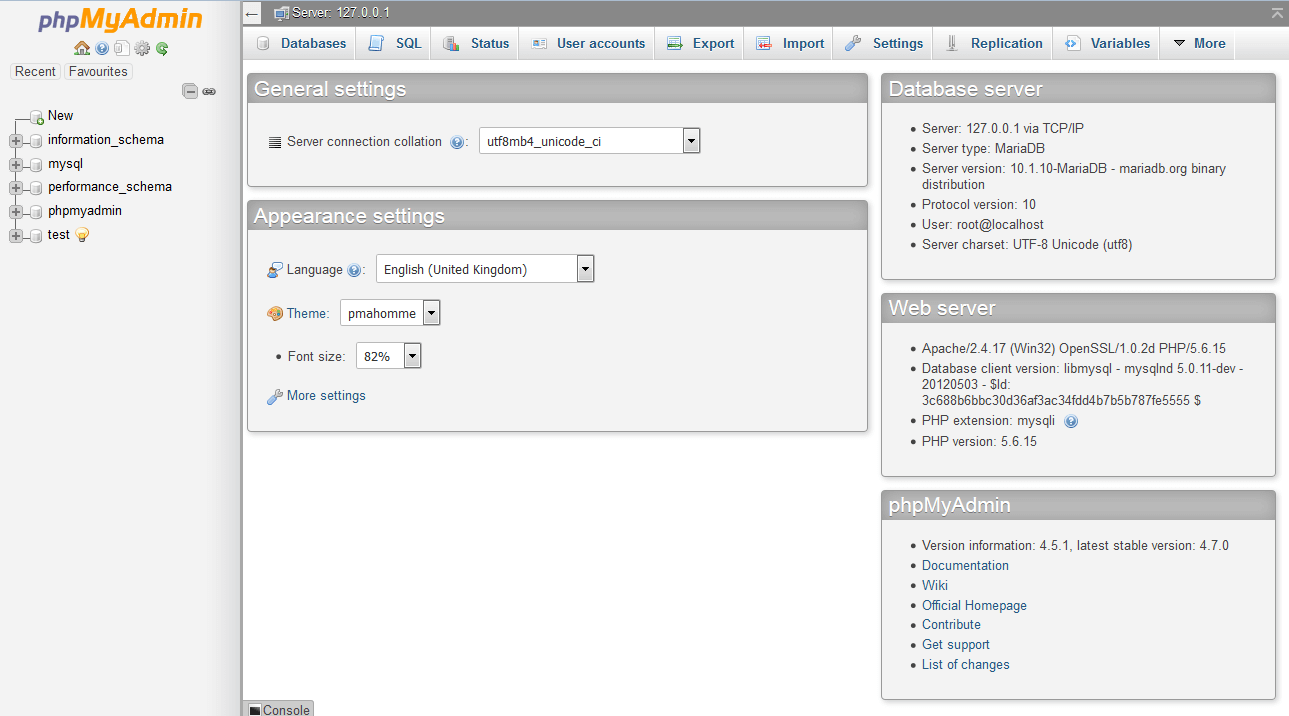
  2. Navigate to http://localhost/phpmyadmin. Click on the ‘Import‘ button. It will display a screen to upload the file.Select the file as per your requirements.

    If you want to install the clean system, select ‘public/install-scripts/install-nodata.sql’
    If you want to install a system with demo data, select ‘public/install-scripts/install-withdata.sql’

  3. You are done. Assume that you uploaded the files to “crm” folder, navigate to Eq. http://yourdomain.com/crm Keep in mind that you need to adjust the URL based on where you uploaded the files. If you are installing on a subdomain named “crm” you need to access the URL like http://crm.yourdomain.com.
Related Articles

Server Installation

Upload the files to the server folder where Coworking Space CRM will be installed.

  1. Cpanel Login
  2. Go to File Manager
  3. Click on the Public_html folder(Check whether project installed or not)
  4. Click on ‘public_html’ OR create a folder with name ‘crm’. Upload the ‘Upload.zip’ file and extract into Public_html OR created folder ‘crm’
  5. Assume that you uploaded the files to “crm” folder, navigate to Eq. http://yourdomain.com/crm Keep in mind that you need to adjust the URL based on where you uploaded the files. If you are installing on a subdomain named “crm” you need to access the URL like http://crm.yourdomain.com.
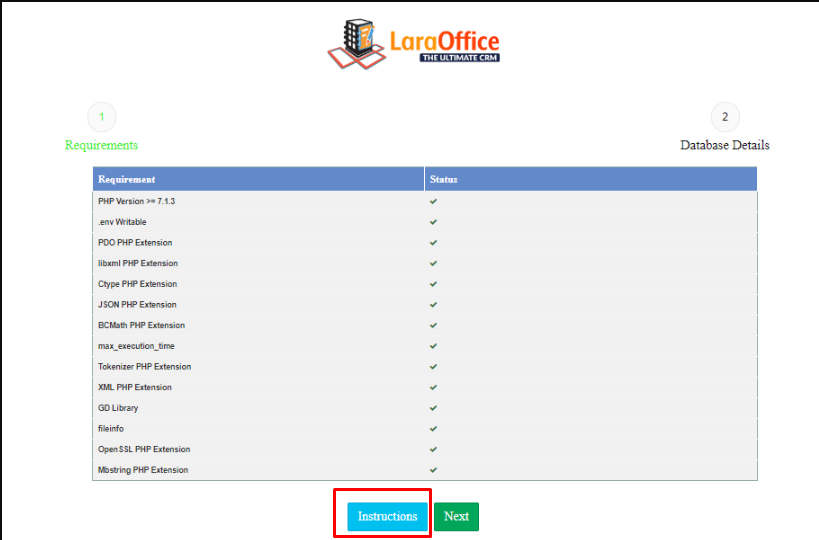
  6. It will display the server requirements screen, if all requirements passed click Next otherwise consult with your hosting provider to fix/enable them.
      1. It will display the Database details screen.
  7. If you are installing on the server, enter the database credentials you configured in step 2 (Configure Database)

    If you are installing it local, enter the database credentials you configured here

      1. Host Name(usually, the hostname is localhost but you should check with your hosting provider)
      2. Database Name
      3. Database Username
      4. Database Password
      5. Port (usually, a port is 3306 but you should check with your hosting provider)
      6. Select Install with empty data OR Install with data.
      7. Note: the system will display the registration screen to create the first admin user.

        Click Install and if button if the database connection is successful it will install the system, otherwise please re-check your credentials.

        1. Sit back and relax while installing the system.
        2. In the above steps, the system will display the following screen to create your admin user.
            1. You are done.

          Note: Once the installation is done you can remove ‘install scripts in the ‘public’ folder

Related Articles

Local Installation

Local Installation Process

The following steps need to be followed to install the script properly on your local system using XAMPP. Here we are providing instructions using XAMPP, if you are using different software, you have to find your path for your public folder.

    1. Download the zip file from CodeCanyon.
    2. Extract the zip file on your system.
    3. Note: We assume that your system is installed with xampp
      • Navigate to xampp > htdocs and create a new folder named ‘crm’ (For Windows)
      • Navigate to lampp > htdocs and create a new folder named ‘crm’ (For Ubuntu/Linux). Usually location for xampp folder on Ubuntu system is /opt/lampp – Click here to know more about xampp installation on Ubuntu/Linux
      • Navigate to xampp > htdocs and create a new folder named ‘crm’ (For Mac). Usually location for xampp folder on Mac system is /Applications/XAMPP/xamppfiles/xampp – Click here to know more about xampp installation on Mac OS
      • Navigate to sites folder and create a new folder named ‘crm’ (For Mac, if you are using laravel valet). Usually location for sites folder on Mac system is /Users/{yourusername}/sites – Click here to know more about laravel valet installation on Mac OS
    4. Select the Upload.zip from the downloaded zip file and extract it into the newly created folder i.e crm
    5. Create a database using phpMyAdmin by visiting http://localhost/phpmyadmin.

Note: If you want to install the system manually, you can import the database into phpMyAdmin.

6. Open up a browser and navigate to http://localhost/crm – (http://crm.test if you are using Laravel Valet)

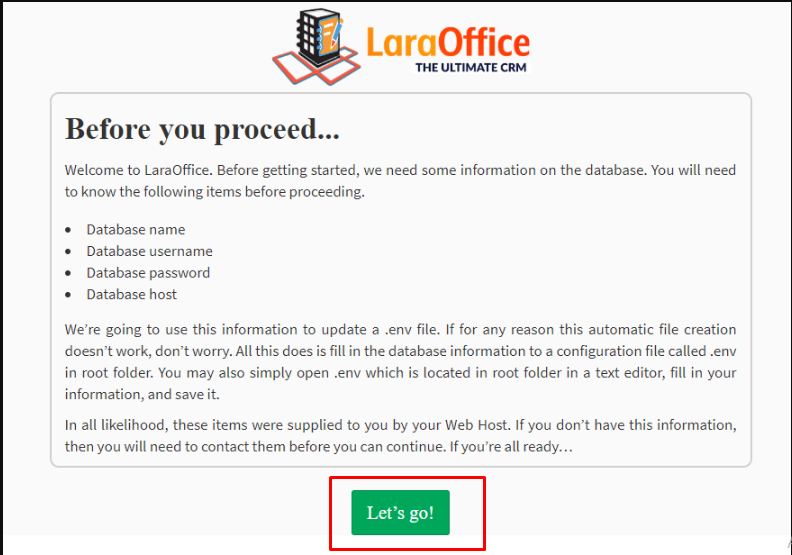
  1. After reading the instructions you can proceed for the next process called requirements. You should have to maintain the below requirements to run the laraOffice project
  2. After getting the requirements, please click on the Next button to install the Laraoffice project.
  3. Before going to the installation process you need to fill the database-related fields.
  4. Here you can fill in your login details and register.
  5. Finally, go to the installation process by clicking on the install button.

If you see a blank page after installation, it might be your compiled folder permission is not writable. Please make permission 755 compiled directory inside UI folder to store the generated contents from the theme.

Related Articles

System Requirements

LaraOffice CRM(Customer Relationship Management) has a few system requirements. LaraOffice developed on Laravel version 5.7. The following are a detailed list.

Minimum Requirements

  • PHP >= 7.1.3
  • OpenSSL PHP Extension
  • PDO PHP Extension
  • Mbstring PHP Extension
  • Tokenizer PHP Extension
  • XML PHP Extension
  • Ctype PHP Extension
  • JSON PHP Extension
  • BCMath PHP Extension
  • .env (Laravel Environment file) should be writable
Related Articles